
Canadian National Diversions
- Todd Morris

- Apr 12
- 6 min read
A friend of mine on the Big Blue Trains site, Charlie Bowyer, has an unbelievable collection of photographs from the Conrail rainbow years and he shares at least one a day on that site. I'd been itching to put some foreign road influences into my railroading and one day Charlie happened to show a Conrail consist with a couple of Canadian National diesels, including one with a wide safety cab. That got me researching... and ran into the M420 diesels that were manufactured by the Montreal Locomotive Works - an Alco design C420 with a wide safety cab (the very first model to sport what became ubiquitous in 4th generation diesels) and some other unique features. Some of them also sported the CN zebra scheme - a set of large black and stripes along the long hood and a red/orange cab. These things were striking (and were also first used for the CN on the M420)! I then found out that Rapido trains had the M420 in production... I started looking for one at a decent price... and found a barely used one on ebay...
Here's a shot of my M420...

Cool, ain't she? I love the lighting features, the front door detail, the plow, the zebra stripes. Apparently, these wide safety cabs were espoused by the Canadian crews and were certainly (eventually) adopted widely in the U.S. as well. One problem... My M420 would consistently derail in a couple of my curves. In my impatience to get the thing running right, I went to the drastic measure of superelevating some of the curves on my layout - which was a pretty huge undertaking for track that had already been laid and ballasted and scenery applied on both sides. It made a huge mess and I spent about a month redoing it all. What I should have done was researched... Came across a note through Rapido that taking apart the locomotive and filing down the truck securing clips would allow more truck movement in the roll direction and that was the final cureall for this locomotive, which now runs like a champ.
Anyway, once you have one Canadian National locomotive, you're on the hunt for another. At the time that I model, the CN had two basic paint schemes - the zebra and a similar one with big CN worm decals on the side. At about the same time I was superelevating my curves, I won an auction on ebay for two locos - one ended up being a defunct motored F9A, which I considered adding as a dummy loco, but then found out none of Conrail's F units were F9As. I got the headlight working and cleaned it up for sale and it was out of my life. The other unit was a GP35 (early Athearn Blue Box) decorated in Chessie System colors with a road number of 3547. Here's a shot of her:

I'd always kinda liked the Chessie rainbow scheme, but there were a couple of problems with this design. Chessie 3547 was a GP35, but it was originally a B&O and never did get the rainbow scheme - it was in blue until it was either sold or scrapped. The other problem was the nose mounted headlight. The double headlight GP35's were sold to the Western Pacific and Northern Pacific (ending up on the Burlington Northern in Green and black in 1976). So, I thought about cleaning this one up and selling it as well. Put a DCC encoder and some LED lighting into it, and I was about to put it up for sale until....
I ran into the story of two GP35s owned by the Canadian National. Only two ever on the roster - originally numbered 4000 and 4001, and I verified that BOTH of these units were leased by the CN to railroads here in the US in 1976-78. Huh... Both of these units had a headlight in the nose, but the cab light was replaced with a bell. Could I get the right bell? Might I want to make this unit into one of the two CN GP35s? Turns out both started life on the CN with the big CN worm side logo, but only 4001 was then repainted in the zebra stripe scheme. Here's a shot of each:
I was starting to like the idea, but I didn't know which handsome unit I might want to model... Already had a zebra stripe.... so I went with the older scheme. Found a supplier for the bell, found a source of supply for the window louvers for the side of the cab, got a CN decal sheet, got some grab irons and then found a supplier (CMR) for the unique "rock plow" on the front of the unit. Also located a source of the paint color (Tru Color had it). I decided to fully strip the paint on the Chessie unit right down to the black plastic, which took a while dipping in rubbing alcohol. Some of the paint still wasn't coming off, so (big mistake) I resorted to steel wool. I got the paint off, but I also reduced some of the shell details with the rubdown. After I tried painting the shell, I was unhappy with the rubbed out details, so I decided to buy a whole "new" GP35 shell - this was a SOO unit that someone painted - still had the nose headlight, so I was in business. Took care to strip as much of the paint as I could using only my fingers and fingernails for the most part. Added grab irons and sprayed her black with an airbrush:

The black was too shiny for me, so I faded it out using Tamiya flat base and added a black wash until it had the right look for me. I also added the louvers and the bell:

I then masked off for the orange/red paint on each end:

and added the white sill stripe:

I added the number boards this weekend. I'd put aside the transparent insert that goes in the cab, but I placed it in such a fantastic place, that I could not remember where that location was. It's gone. I did find that a bridge deck tie laid in sideways fit in the number board very nicely, so I wedged one in each side and printed "4000" on a CD sticker:

I drilled three holes in each rear number board to allow some light in and added 4000 on those:

Then started the decal process:

I'm still waiting for the plow, but we're getting closer. I did some basic weathering on the trucks and fuel tank, but still need to do more detailed weathering. Coming along though!
Finally received the plow yesterday - it's a 3d print deal with a flat back and no obvious way to attach it to the shell. The shell I have, and the chassis for that matter is an old "blue box" Athearn unit. These shells were designed to slip over the coupler pocket - hence there is a slot cut in the shell in the front and rear pilot. When you put a plow over the lower portion of the front pilot (or the rear for that matter), you lose the ability to slide the shell over the coupler - for a permanently installed plow, you're forced to remove the coupler every time you want to get into the locomotive. That's just fine with the more recent Athearn locomotives, since you unscrew the coupler from the underside of the frame. With the older Athearns, the coupler is secured from above with a clip that is forced from the top of the coupler box.
With that in mind, if I glued the plow on the bottom of the pilot, I'd then be forced to jimmy the clip off from the sides to remove the coupler, which isn't that hard to do when removing the shell. However, getting the couple and clip installed after the shell is back on is a painful experience. How to get around it?
Before I get into that, the shell had steps on the lower portion of the pilot that jutted out and prevented the plow from being installed in the proper location.

Got a pair of track shears out and cut the major portions of the plastic steps off and then ground most of the rest off with a Dremel sanding barrel and then finished with a small file.

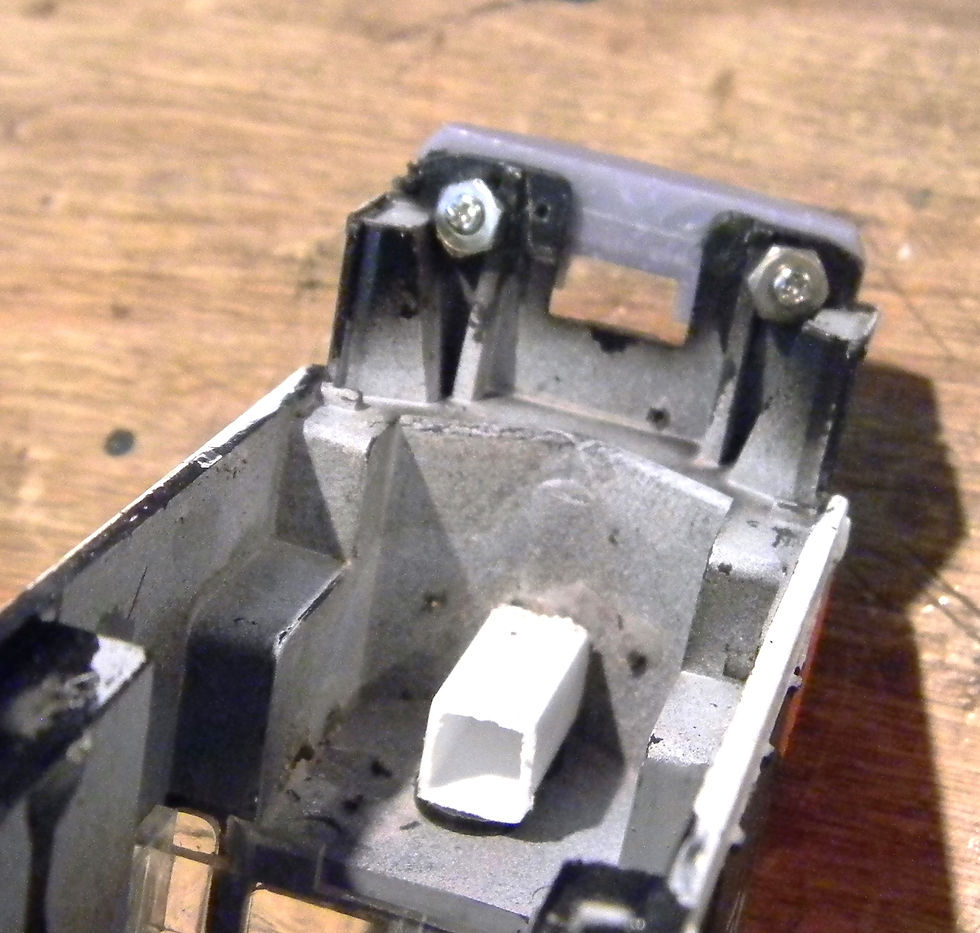
I then dug into my hardware bin and found a couple of tiny screws. They were a little long, but I built a couple of thick washers (some small nuts) and drilled through the pilot and threaded the screws into the back of the plow (being careful to not go all the way through the front of the plow.
Now to paint the plow. The prototype is "zebra striped", so I'm going to paint the plow all black and then install some painter's tape in stripes and paint while between the taped portions.
After painting up the plow, I weathered the whole locomotive with special attention on the underside and frame. Ain't she a peach? It ended up being a very rewarding project and I'm glad I won that auction just to see the final result.

Comments